
Customer Onboarding for VPS Hosting
Setting up a Virtual Private Server (VPS) can feel overwhelming, but a clear onboarding process simplifies everything. From account setup to server configuration, this guide breaks down each step to get your VPS running efficiently and securely.
Key Steps for VPS Hosting Onboarding:
- Account Setup: Register, verify, and secure your account with two-factor authentication.
- Choose the Right Plan: Match CPU, RAM, storage, and bandwidth to your needs.
- Server Configuration: Select the right operating system (e.g., Ubuntu, CentOS) and set up firewalls and SSH keys for security.
- Learn Tools: Use control panels like cPanel or Plesk for domain, email, and database management.
- Access Support: Familiarize yourself with live chat, email support, and knowledge bases for troubleshooting.
Why It Matters:
- Efficiency: Avoid technical issues with proper setup.
- Security: Protect your server from threats with essential measures.
- Scalability: Plan resources for current and future needs.
Whether you’re hosting a website or running applications, these steps ensure you’re prepared to manage and troubleshoot your VPS effectively. Ready to dive in? Let’s get started!
What is a VPS – Everything you need to know!
1: Setting Up Your Account
Getting your account set up is the first step toward a smooth VPS hosting experience.
Account Creation and Verification
The process starts with a simple registration. You’ll need to provide basic details like your name, email address, and payment information. These details are crucial for creating a secure account and ensuring you receive important setup emails.
Once registered, you’ll get a welcome email containing key details such as your control panel login, FTP credentials, and nameserver configurations.
For added security, enable two-factor authentication and consider using a password manager to keep your login information safe.
Choosing the Right VPS Plan
Picking the right VPS plan is all about understanding your technical needs. Here’s a quick breakdown of the main resources to evaluate:
| Resource Type | Key Considerations | Why It’s Important |
|---|---|---|
| CPU Power | Number of cores and processing speed | Handles simultaneous tasks efficiently |
| RAM | Memory allocation available | Impacts application performance and multitasking |
| Storage | Type (SSD/HDD) and space | Affects speed and storage capacity |
| Bandwidth | Monthly data transfer limit | Supports website traffic without interruptions |
Think about your current requirements but also plan for future growth. A common mistake is underestimating resource needs by 20-30% at the start.
Tailor your VPS specs to your workload. For example, database-heavy applications typically need more RAM and CPU, while e-commerce sites benefit from higher bandwidth and SSD storage for faster transactions.
Once your account is ready and you’ve chosen the right plan, you can move on to configuring your server for peak performance.
2: Configuring Your VPS Server
Once your account setup is done, the next step is to configure your VPS to suit your needs.
Operating System and Software Setup
Choose an operating system that aligns with your intended use:
| OS Type | Best For |
|---|---|
| Ubuntu | LAMP stacks, Python apps |
| CentOS | E-commerce, business apps |
| Windows Server | .NET apps, MS SQL |
After selecting your OS, install the necessary software using your control panel. Tools like cPanel or Plesk make tasks like domain management, email configuration, and database setup much easier.
Setting Up Security
Start by implementing these key security measures:
- Firewall Configuration: Set up your firewall to allow only essential traffic, such as SSH, HTTP, and HTTPS. For example, in Linux, you can use UFW commands like
ufw allow 22/tcpto enable SSH access. - SSH Key Authentication: Generate SSH keys and configure your server to use them. This method is far more secure than passwords. Always keep your private key safe and never share it.
First-Time VPS Access
To connect to your VPS for the first time, use the following command:
ssh username@your_server_ip During your first login, confirm the server’s fingerprint to ensure you’re connecting to the correct server.
Common access issues and fixes:
| Issue | Solution |
|---|---|
| Connection timeout | Check your firewall rules |
| Authentication failure | Verify your credentials and SSH key |
Once connected, you can use tools like top or htop to monitor your server’s performance and ensure everything is running smoothly.
With your VPS configured and secured, you’re ready to explore its features and address any setup challenges that arise.
sbb-itb-59e1987
3: Training and Troubleshooting
Understanding VPS Features
VPS hosting comes packed with tools accessible through control panels like cPanel or Plesk. These tools help manage domains, monitor resources, and handle other tasks essential for smooth operation.
| Feature | Purpose | Common Use Case |
|---|---|---|
| Domain Management | Configure and manage domains | Hosting applications |
| Database Administration | Create and maintain databases | Running e-commerce platforms |
| Email Configuration | Set up professional email accounts | Team communication |
| Resource Monitoring | Track server performance | Improving app performance |
Getting to know these features is crucial to making the most of your VPS. Once you’re comfortable, you can tackle the typical challenges that may pop up during setup.
Resolving Setup Issues
Setting up your VPS can come with its share of hiccups. Here’s a quick guide to some common problems and how to fix them:
| Issue Type | Common Causes | Resolution Steps |
|---|---|---|
| Connectivity Problems | Firewall misconfigurations, wrong IP settings | Check firewall and network settings |
| Software Compatibility | Conflicting versions, missing dependencies | Update software and install dependencies |
| Performance Issues | Limited resources, incorrect settings | Adjust resource allocation and configurations |
For detailed error tracking, dive into server logs located in /var/log/. These logs provide insights into system behavior and error specifics.
Accessing Support
Good support can make all the difference during setup. VPS providers usually offer multiple ways to get help:
| Support Channel | Response Time | Best For |
|---|---|---|
| Live Chat | Immediate | Quick, straightforward issues |
| Email Support | 2-24 hours | Complex technical problems |
| Knowledge Base | Self-paced | Step-by-step setup guides |
When reaching out for help, be sure to include details like your server IP, error messages, and any recent changes. This speeds up the troubleshooting process.
"The key to efficient problem resolution is providing detailed descriptions of the issue, including any error messages, and being prepared to provide access to the VPS if necessary. This helps support teams diagnose the issue more efficiently."
With these tools and resources, you’re in a great position to handle any setup or onboarding challenges.
4: Ongoing Support and Feedback
Using Support Channels
Once your VPS is up and running, having reliable support ensures smooth operations and quick resolution of any issues that arise. Support typically combines automated monitoring tools with expert assistance to address problems effectively.
| Priority Level | Response Time | Issue Types | Resolution Approach |
|---|---|---|---|
| Urgent | Less than 1 hour | Server downtime, security breaches, critical performance issues | Immediate escalation and technical support |
When submitting a support ticket, include key details like your server IP, any error messages, recent changes, and steps to reproduce the issue. This information speeds up the troubleshooting process.
Gathering and Using Feedback
Collecting feedback through methods like surveys and satisfaction scores allows service providers to improve their support and onboarding processes. Providers often gather insights by:
- Conducting surveys after setup to understand the initial experience
- Tracking satisfaction scores to evaluate service quality
- Reviewing technical support interactions to refine processes
- Considering feature requests to improve offerings
"Customer onboarding is not just about getting customers started with your product; it’s about setting them up for long-term success." – SweetProcess, "Customer Onboarding: A Complete Customer Onboarding Process"
Top providers use metrics like CSAT (Customer Satisfaction Score) and NPS (Net Promoter Score) to guide improvements. This includes:
- Monitoring how quickly and effectively issues are resolved
- Updating documentation to address common questions
- Implementing features based on customer suggestions
- Strengthening proactive security measures
Routine security audits and continuous monitoring help prevent potential problems, ensuring dependable hosting and a better customer experience.
Choosing a VPS Provider
Once you’re familiar with the onboarding process, the next step is finding a dependable VPS provider. Picking the right provider can make your life easier by reducing technical headaches and ensuring smooth growth.
Key Features of a VPS Provider
With an 18% rise in DDoS attacks in 2022 (according to Kaspersky), it’s clear that strong DDoS protection should be a top priority. When comparing VPS providers, pay attention to these key factors:
| Feature | Why It Matters | What to Look For |
|---|---|---|
| Global Data Centers | Faster load times, lower latency | Locations close to your audience |
| Uptime Guarantee | Keeps your business running | At least 99.9% uptime |
| DDoS Protection | Prevents downtime caused by attacks | Built-in defense mechanisms |
| Support Response | Reduces the impact of issues | 24/7 support via multiple channels |
| Scalability | Grows with your needs | Flexible resource options |
Downtime isn’t just an inconvenience – it’s expensive. HostingFacts reports that even one minute of downtime can cost businesses up to $7,900. This makes choosing a provider with a strong infrastructure and consistent performance essential.
Serverion: A VPS Hosting Solution You Can Count On
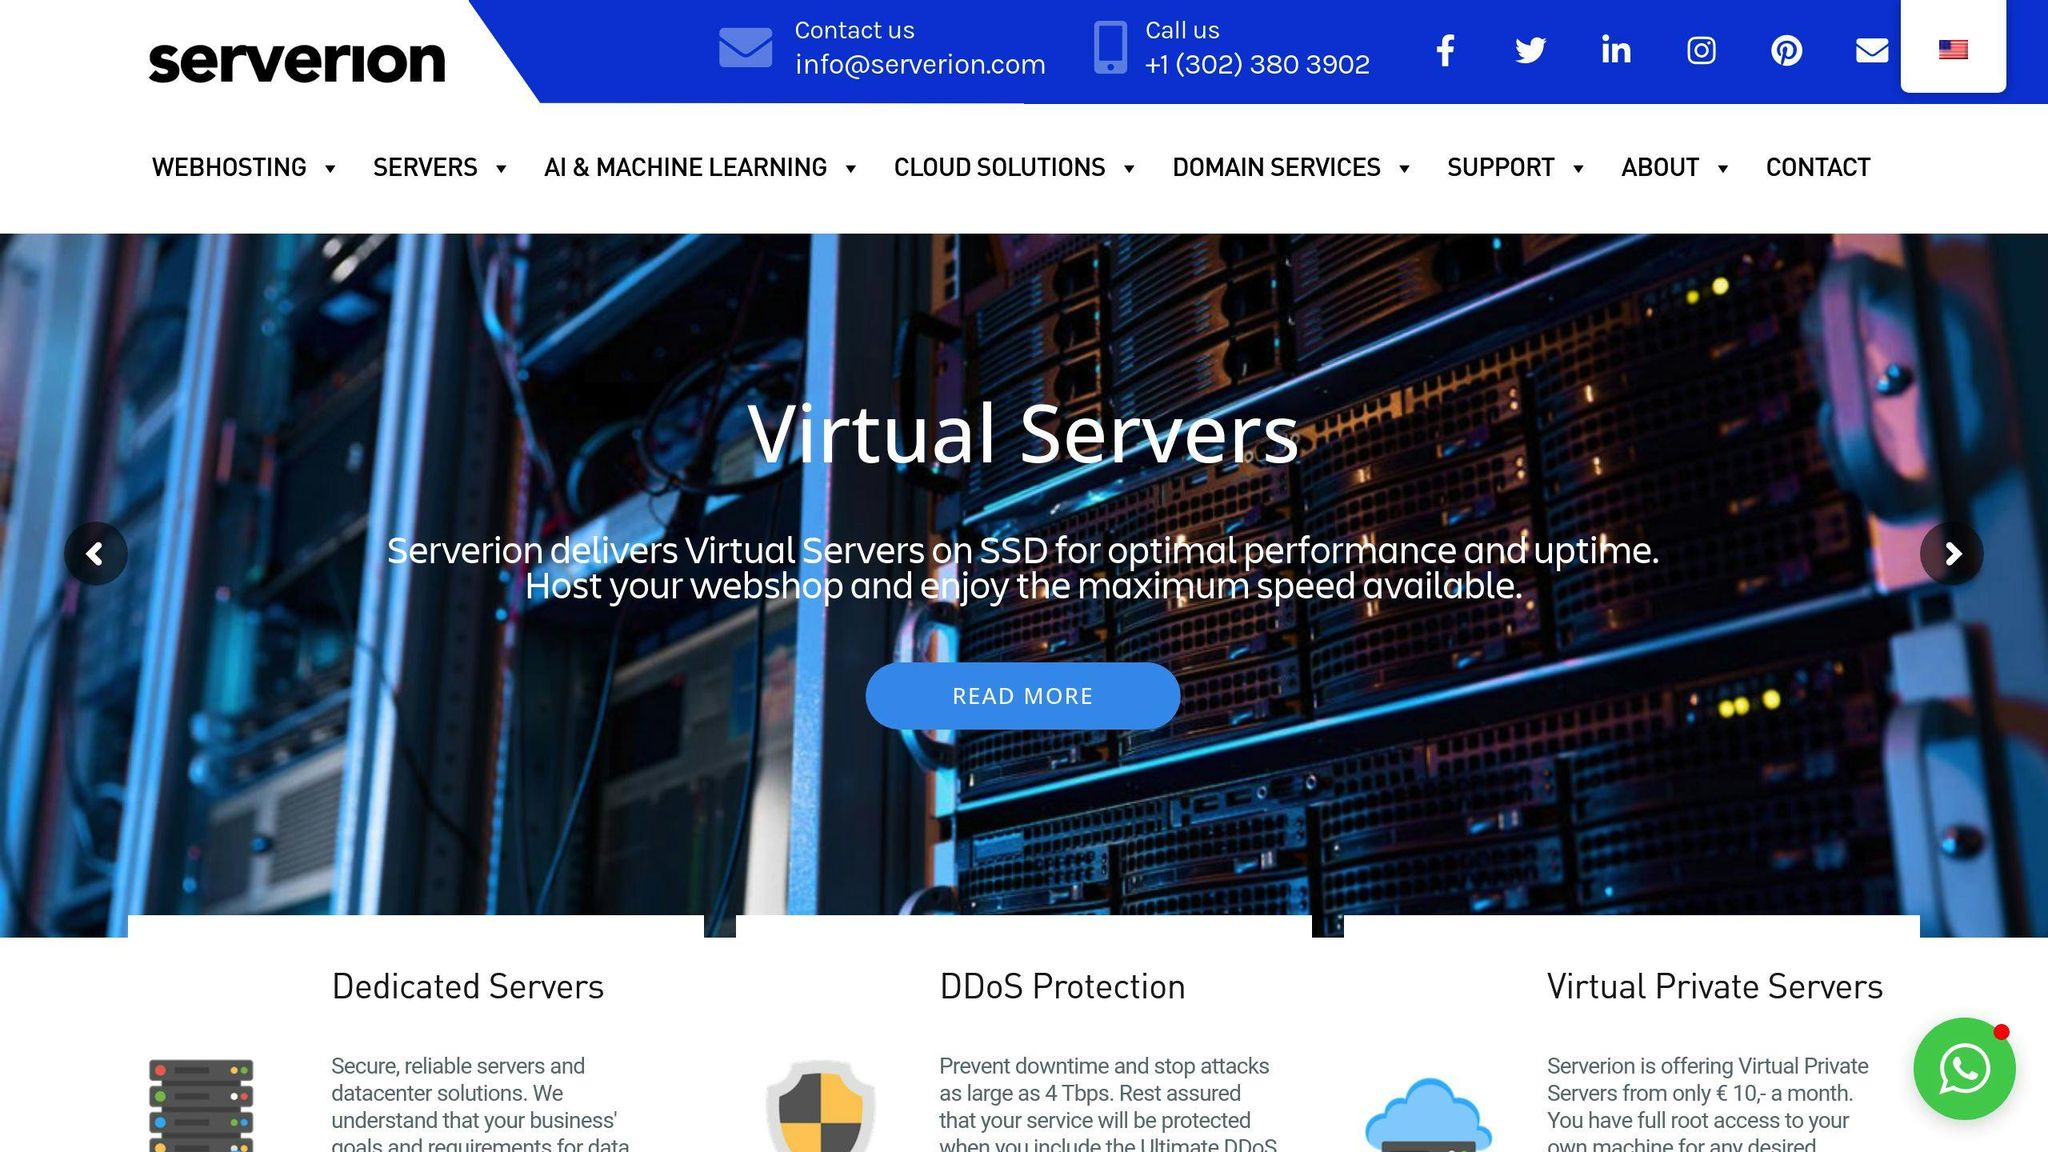
Serverion is a provider that checks all the boxes. Here’s what they bring to the table:
- Global data centers to ensure fast performance and advanced DDoS protection for added security.
- Affordable VPS plans, starting at €10/month, including 2GB RAM and 50GB SSD storage.
- Top-tier technical support, known for fast response times.
- Extra services, like SSL certificates and server management, for a complete hosting package.
Want to make sure they’re the right fit? Start with a smaller plan to test their support and services. Ask about their backup policies, encryption methods, and scalability options to ensure they meet your specific needs.
Conclusion and Next Steps
Setting up VPS hosting successfully involves combining account setup, server configuration, security measures, and reliable support into a seamless process. By following the onboarding steps in this guide, you can create a solid hosting environment while steering clear of common technical issues.
Here are the key factors that contribute to VPS hosting success:
| Key Factor | Action Plan and Benefits |
|---|---|
| Security Measures | Use firewalls, encryption, and access controls to protect your server. |
| Performance Tuning | Keep an eye on server metrics and resource usage to ensure smooth operations. |
| Support Resources | Take advantage of your hosting provider’s tools and documentation for quick issue resolution. |
With these steps in place, you’re ready to kick off your VPS hosting journey. Prioritize strong security practices, keep a close watch on performance metrics, and make the most of the support services offered by your provider. Regular updates to security settings and consistent performance checks will help keep your VPS running efficiently.


